Table Of Contents:
- Master Interior Wall Painting Preparation Techniques
- Select the Right Tools for Your Interior Painting Project
- Prepare Walls for Optimal Paint Adhesion and Coverage
- Choose the Best Paint Types for Your Interior Walls
- Correctly Tape and Protect Surrounding Areas Before Painting
- Organize Your Workspace for an Efficient Painting Process
- Apply Techniques for Smooth and Even Paint Application
- Table: Comparison of Paint Application Tools and Their Benefits
- Frequently Asked Questions
- Final Thoughts
Master Interior Wall Painting Preparation Techniques
Interior wall painting projects require proper preparation and the right tools to ensure a flawless finish. In this article, you will learn expert techniques that save time and help you achieve professional results. if you’re curious about what happens if you don t paint your house, consider that proper care and attention to detail can prevent issues down the line. Discover how choosing the right supplies and preparing your workspace leads to a durable, quality finish for your home or business.
Select the Right Tools for Your Interior Painting Project
Choosing proper tools is key to a professional finish. Gather all necessary supplies to make the job efficient and effective.
Gather Essential Painting Supplies for a Professional Finish
Collect essential supplies such as paintbrushes, rollers, buckets, and mixing sticks. Quality tools—like a sturdy bucket and reliable mixing tool—help improve paint adhesion and mix paint evenly, reducing lumps. Keeping your supplies organized streamlines your process.
Choose Quality Brushes and Rollers for Smooth Application
High-quality brushes with nylon or bristle tips and fine-nap rollers provide precision and even coverage. Quality tools cover larger areas with fewer strokes and prevent streaks or brush marks that would require extra touch-ups.
Use Drop Cloths to Protect Floors and Furniture From Paint
Drop cloths protect floors and furniture from paint spills. Laying them generously in your work area prevents costly damage to fabrics, hardwood, or carpets. Durable, reusable cloth drop covers also help keep your workspace clean.
Invest in Painter’s Tape for Clean Edges and Straight Lines
Painter’s tape ensures crisp borders and protects adjacent surfaces without bleeding. A high-quality, easily removable tape prevents peeling off the new paint and reduces time spent on corrections.
Prepare Your Mixing Tools for Efficient Paint Application
Ensure your mixing tools—such as stir sticks or drill attachments—are clean and in good condition. Proper tools distribute pigment evenly, reducing color inconsistencies and ensuring a uniform final finish.
Prepare Walls for Optimal Paint Adhesion and Coverage

Proper wall preparation is vital for ensuring lasting paint adhesion and a smooth finish, reducing future problems like peeling or blistering.
Clean the Wall Surface to Remove Dirt and Grease Accumulation
Clean walls using a mild detergent and water to remove dirt, mold, or grease. A clean surface, scrubbed with a sponge or soft brush if needed, allows better paint adhesion and prevents blemishes.
Repair Damaged Areas for a Seamless Painting Experience
Inspect walls for holes, cracks, or dents. Fill imperfections with spackling paste or joint compound and smooth with sandpaper. Repairing damage ensures the new coat appears uniform and prevents future adhesion issues.
Sand Surfaces to Create a Smooth Base for Paint
Sanding creates a smooth surface and promotes primer bonding. Use fine-grit sandpaper to remove paint imperfections and create micro-abrasions for a durable, consistent finish.
Apply Primer Where Necessary to Enhance Paint Durability
Primer seals porous areas, minimizes paint absorption, and improves overall coverage. Applying a coat of primer reduces the need for multiple topcoats and enhances both adhesion and color fidelity.
Remove Old Wallpaper or Loose Paint to Ensure Fresh Start
Remove any old wallpaper or flaking paint using solvents or specialized tools. A clean, bare surface ensures that new paint adheres evenly and maintains a professional look.
Choose the Best Paint Types for Your Interior Walls
The right paint selection significantly affects your project’s outcome, contributing to both aesthetic appeal and durability.
Compare Options Between Latex and Oil-Based Paint
Latex paints are popular for their easy clean-up and quick drying times, while oil-based paints offer a smooth finish and durability. Choose latex for high-humidity areas, and consider oil-based for trim or areas needing a hard, long-lasting finish.
Select Appropriate Finishes for Different Spaces
Finishes vary in sheen and protection. A satin finish is balanced and works well in living areas, while eggshell is subtle and ideal for bedrooms. Choose finishes based on both functional needs and your interior design style.
Test Paint Swatches to Ensure Color Satisfaction
Always test paint swatches on your wall before full application. Testing helps you see the color under different lighting conditions and understand how multiple coats may affect the final appearance, preventing costly errors.
Consider Eco-Friendly Paint Choices for Healthier Homes
Eco-friendly options like low-VOC or zero-VOC paints reduce harmful emissions, making them ideal for homes with children, the elderly, or individuals with respiratory concerns. Such choices demonstrate a commitment to both quality and environmental responsibility.
Correctly Tape and Protect Surrounding Areas Before Painting

Proper masking and protection prevent unwanted paint splashes and help maintain crisp edges.
Learn How to Mask Off Edges for Crisp Lines
Apply painter’s tape accurately on trim, baseboards, and windows. Firmly press the tape down to keep paint from seeping underneath, ensuring a clean, professional look for detailed architectural areas.
Cover Furniture and Fixtures With Plastic for Full Protection
Shield furniture and fixtures with plastic covers or drop cloths. Secure these covers with tape if needed to protect neighboring surfaces from smudges and spills, thereby simplifying cleanup.
Remove Outlet Covers and Light Switch Plates for Easy Access
Taking off outlet covers and light switch plates allows you to clean thoroughly and prevents accidental paint smears on electrical components, ensuring a neat overall finish.
Organize Your Workspace for an Efficient Painting Process
An organized workspace boosts productivity and keeps the painting process smooth from start to finish.
Set Up a Functional Area to Minimize Cleanup Time
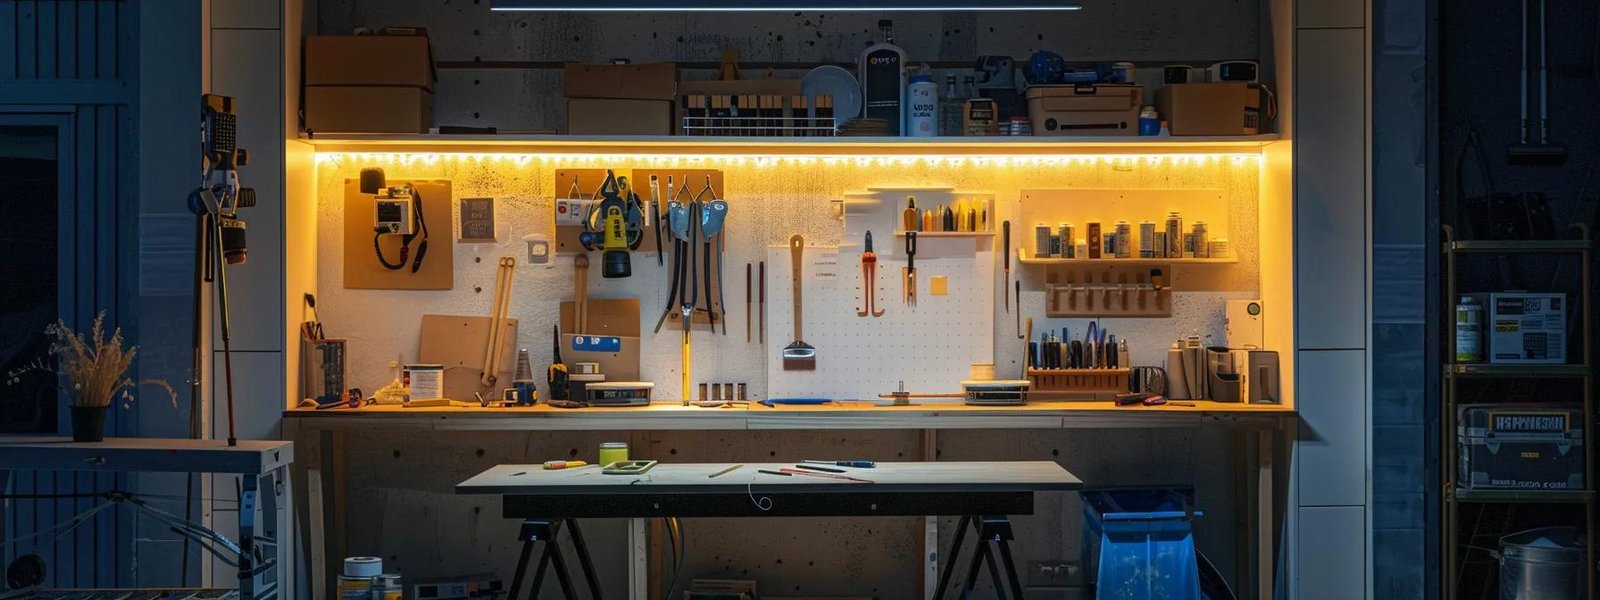
Designate a well-lit, ventilated space for storing your tools and supplies. A clutter-free area allows quick access to necessary items and reduces overall cleanup and preparation time, while also minimizing the risk of accidents.
Arrange Paint Cans and Supplies for Easy Access
Organize your painting supplies—brushes, rollers, and paint cans—in logical order close to your work area. Easy access to tools improves efficiency and helps maintain consistent application techniques.
Establish a System for Managing Time During the Project
Develop a schedule with milestones for each step, from cleaning to applying the final coat. A structured timeline boosts productivity, helps track progress, and ensures timely transitions between project phases.
Apply Techniques for Smooth and Even Paint Application

Using proper painting techniques is crucial for a uniform, professional finish.
Use Proper Brush Strokes to Achieve a Flawless Finish
Practice controlled, even brush strokes for detail work and smaller areas. Blending edges minimizes visible transitions, making this method ideal for corners, trim, and intricate detailing.
Understand Rolling Methods for Large Wall Areas
For large surfaces, use a quality roller with proper rolling techniques. Whether rolling vertically or horizontally, overlapping strokes slightly ensures even coverage and reduces the likelihood of uneven layers.
Manage Paint Drying Times for Optimal Layering
Follow manufacturer guidelines on drying times to avoid smudging or peeling. Allow each coat to cure properly before adding subsequent layers or removing masking tape, ensuring long-term durability.
Conduct Touch-Up Work After First Coat for Perfection
After the first coat, inspect the wall for missed spots or imperfections. Use a small brush to touch up these areas, ensuring your final finish is uniform and professional.
Table: Comparison of Paint Application Tools and Their Benefits
| Tool | Key Attribute | Benefit | Recommended Use Case |
|---|---|---|---|
| High-Quality Brushes | Fine bristles | Offers precise detail work | Edges, corners, and trim work |
| Premium Rollers | Uniform nap texture | Ensures even distribution of paint | Large wall areas and ceilings |
| Painter’s Tape | Adhesive yet removable | Creates crisp lines without bleed-through | Masking around trims, windows, and door frames |
| Drop Cloths | Durable, washable material | Protects floors and furniture from spills | Entire room protection during painting |
This table summarizes several critical tools, their key attributes, and benefits, aiding you in selecting the best tools for your painting project.
Frequently Asked Questions
Q: How do I know which type of paint is best for my room?
A: Consider the room’s usage and humidity levels. Latex is ideal for most areas due to its ease of cleaning.
Q: Why is proper surface preparation important before painting?
A: Proper preparation ensures better adhesion, durability, and a smooth finish, reducing the chance of peeling or patchy coverage.
Q: What is the role of primer in interior painting?
A: Primer seals the surface, improves adhesion, and provides a consistent base for the paint, enhancing color fidelity.
Q: How can I avoid drips and uneven paint layers?
A: Use quality tools, maintain proper painting techniques, and allow sufficient drying time between coats.
Q: What should I do if I accidentally get paint on unwanted surfaces?
A: Immediately wipe the paint off while it is still wet to prevent permanent staining.
Final Thoughts
Achieving a professional interior wall painting finish hinges on thorough preparation and using the right techniques. From selecting quality tools and priming the walls to carefully applying paint and protecting surrounding areas, every step is crucial for a superior outcome. By following these expert tips and maintaining an organized workspace, you can create an even, smooth, and durable finish that enhances the overall appeal of your space—saving you time, reducing stress, and delivering results that reflect true craftsmanship.


