Table Of Contents:
- Master Interior Wall Painting Preparation Techniques
- Prepare Your Workspace for Painting Wall Projects Effectively
- Assess Wall Conditions Before Commencing With Painting
- Choose the Right Preparation Techniques for Different Walls
- Learn the Importance of Proper Drying Times
- Discover the Benefits of Testing Paint on Small Areas
- Finalize Your Wall Preparation Before Painting Begins
- Frequently Asked Questions
- Final Thoughts
Master Interior Wall Painting Preparation Techniques
Interior wall painting can transform your living space, but a flawless finish begins with proper preparation. Understanding what happens if you don t paint your house can provide insight into the importance of maintenance and planning. This guide explains how to efficiently prepare your workspace, assess wall conditions, select the appropriate techniques for various surfaces, and allow proper drying times. Follow these steps to achieve a professional-quality result without costly mistakes.
Prepare Your Workspace for Painting Wall Projects Effectively
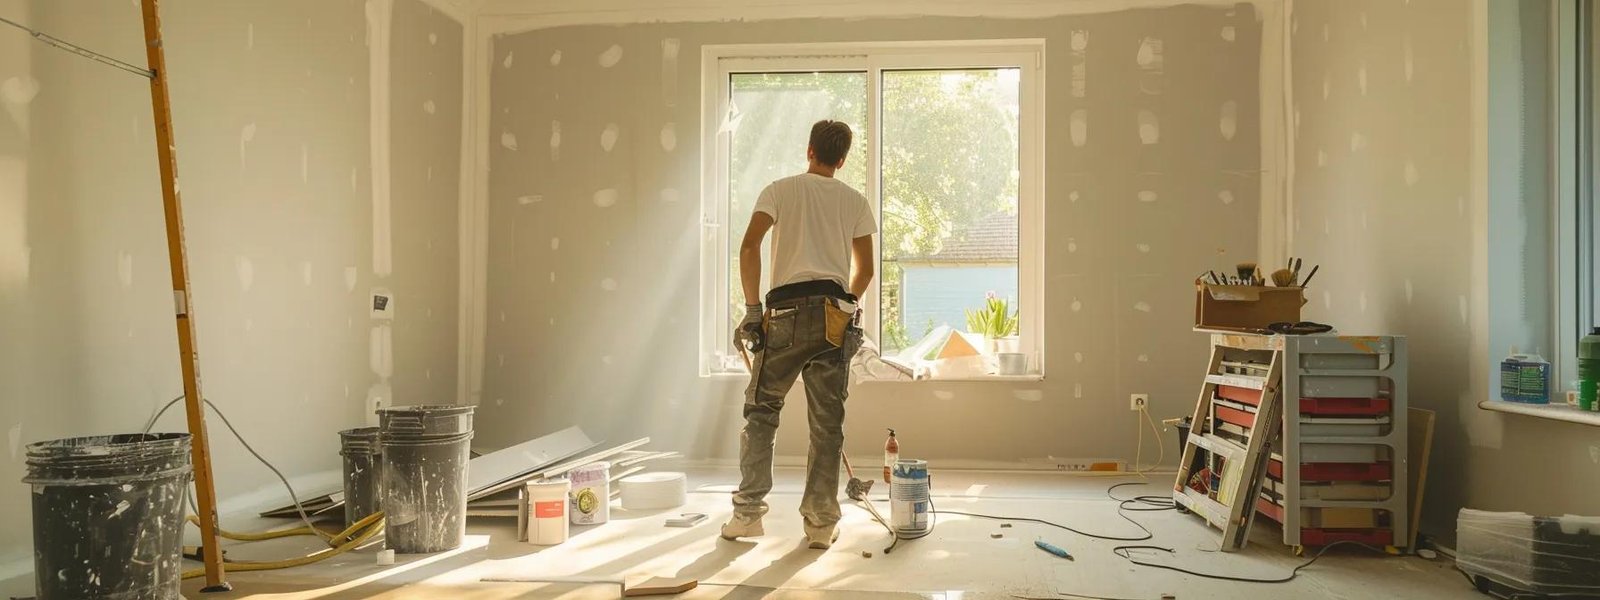
Organize your workspace to maximize efficiency and minimize mess. Clear furniture or cover it for protection, lay drop cloths or plastic sheeting to protect floors and surfaces, and ensure good lighting for spotting imperfections. Gather essential tools such as brushes, rollers, trays, and ladders, and ventilate the area to disperse fumes. Finally, use painter’s tape to protect edges and fixtures for crisp, clean lines.
Clear the Area of Furniture and Accessories to Avoid Damage
Remove or protect furniture to prevent stains and scratches while giving you ample space to work and speed up cleanup.
Lay Drop Cloths or Plastic Sheeting to Protect Surfaces
Drop cloths and durable plastic sheeting safeguard floors and nearby surfaces from paint splatters and spills.
Ensure Adequate Lighting for Safety and Visibility
Proper lighting highlights imperfections and helps maintain precision when taping edges and applying primer.
Gather Essential Tools and Supplies for Convenience
Keep your brushes, rollers, trays, ladders, and other supplies within easy reach to ensure an efficient workflow.
Ventilate the Space to Minimize Paint Fumes
Good ventilation, such as open windows and fans, helps the paint dry evenly and reduces harmful fumes.
Use Painter’s Tape to Safeguard Edges and Fixtures
Applying painter’s tape around windows, trim, and fixtures ensures neat lines and prevents accidental paint application.
Assess Wall Conditions Before Commencing With Painting

Before painting, inspect the walls for cracks, holes, and other imperfections that may need repair. Check for moisture, mold, or mildew and remove any old paint or wallpaper for a clean, smooth base. A thorough cleaning will improve paint adhesion.
Check for Cracks, Holes, or Imperfections Requiring Repair
Examine the walls for physical damage and fill any cracks or holes with joint compound or spackle for a uniform surface.
Identify Any Moisture Issues and Address Them Promptly
Look for damp spots or water stains. Use dehumidifiers or repair leaks early to prevent recurring issues.
Remove Old Paint or Wallpaper for a Clean Surface
Eliminate old layers of paint or wallpaper to reveal and correct underlying imperfections and ensure proper adhesion.
Inspect for Mold or Mildew and Treat Accordingly
Treat any mold or mildew with a bleach solution or mildew-specific cleaner to protect your health and the integrity of the finish.
Evaluate the Surface Type for Proper Preparation Techniques
Different surfaces (drywall, plaster, wood) require unique preparation methods. Knowing your wall type helps in selecting the right primer and procedure.
Conduct a Thorough Cleaning to Remove Dust and Dirt
Clean the walls with a damp cloth or mild detergent to eliminate dust and dirt that could interfere with paint adhesion.
Choose the Right Preparation Techniques for Different Walls
Select techniques based on your wall type to ensure a high-quality finish. For wood panels, sanding smooths the surface; drywall typically requires a primer; and old or peeling paint should be removed with a stripper. Filler materials like spackle and cleaning methods tailored to brick, concrete, or plaster will help achieve a seamless surface. For exterior walls, a pressure washer may be used with care.
Sand the Surface of Wood Panels for Smoothness
Sand wood surfaces with fine-grit sandpaper to create a uniform base for better paint adhesion.
Apply Primer for Enhanced Adhesion on Drywall
Priming drywall seals the surface and promotes a consistent finish, reducing the need for touch-ups.
Use Paint Stripper for Old or Peeling Paint
Chemically remove old paint to ensure that the new coat adheres properly and lasts longer.
Fill Holes and Cracks With Spackle for a Flawless Finish
Apply spackle to smooth out damaged areas, preparing the wall for a professional finish.
Wash and Rinse Walls Made of Raw Materials Properly
Deep cleaning walls made of brick, concrete, or plaster eliminates contaminants that could hinder adhesion. Use the appropriate detergent and rinse thoroughly.
Consider Using a Pressure Washer for Exterior Walls
Use a low-pressure washer to remove stubborn dirt or mildew without damaging the surface.
Learn the Importance of Proper Drying Times

Allow adequate drying time for repairs and primer to prevent peeling and bubbling. Environmental factors like temperature and humidity affect drying times, so follow manufacturer guidelines and avoid touching the surfaces until fully dry.
Allow Patch Repairs to Dry Fully Before Painting
Ensure all repairs are completely dry to avoid cracking or peeling in the new coat.
Wait for Primer to Set Before Applying Topcoats
Allow the primer to cure properly as this base is crucial for the longevity of the paint.
Factor in Humidity and Temperature for Drying
Be mindful of environmental conditions that may extend drying times and plan your project accordingly.
Refrain From Touching Surfaces Until Completely Dried
Avoid disturbing the drying paint to prevent marks and imprints that could ruin the finish.
Be Mindful of Manufacturer Recommendations on Dry Times
Follow specific drying guidelines provided with each product to ensure optimal results.
Schedule Work During Optimal Conditions for Best Results
Plan your project during periods of favorable weather to minimize risks related to drying delays.
Discover the Benefits of Testing Paint on Small Areas
Test your chosen paint on a small section of the wall under different lighting conditions. This trial helps you observe the true color, finish, and texture once dry and lets you estimate the amount of paint needed for the entire project.
Apply Samples in Various Lighting Conditions
Expose your test patch to both natural and artificial light to confirm consistent color and finish.
Observe the Color After It Dries to Ensure Satisfaction
Examine the dried test area to confirm that the hue meets your expectations.
Test Different Finishes for Desired Sheen and Texture
Compare finishes such as matte, semi-gloss, or satin to determine the best option for your room’s purpose.
Use Quality Brushes and Rollers for Sample Applications
Use the same tools for testing as you will for the full project to accurately simulate the final appearance.
Take Note of Paint Coverage to Estimate Quantities Needed
Measure how much area a sample covers to correctly estimate overall material requirements.
Compare Sample Areas to Decide on Final Choices
Review and compare the test results before making your final decision on color and finish.
Finalize Your Wall Preparation Before Painting Begins

Before you open the paint can, ensure all surfaces are clean, smooth, and fully repaired. Confirm that every patch is dry and properly primed, remove painter’s tape carefully, and gather all tools and supplies. A detailed plan for execution will streamline the process and enhance safety.
Double Check for Cleanliness and Smoothness of Surfaces
Inspect each wall to ensure it is free from dust, dirt, or lingering imperfections.
Confirm All Repairs Are Completed and Primed Properly
Make sure every crack is filled and primer is evenly applied for a durable finish.
Remove Painter’s Tape Carefully for Crisp Edges
Peel off the tape slowly at an angle to reveal neat, professional lines.
Have Necessary Tools and Paint Ready for Quick Access
Arrange all tools and materials so that everything is orderly and accessible.
Prepare a Plan for Efficient Painting Workflow
Outline the sequence of tasks to maintain momentum and avoid wasted time.
Ensure Safety Equipment Is on Hand for Protection
Equip yourself with gloves, masks, and protective eyewear to prevent accidents and exposure.
Frequently Asked Questions
Q: How long should I wait for patch repairs to dry before painting?
A: Wait at least 24 hours to ensure repairs have dried completely.
Q: Can I use the same primer for all wall types?
A: No, different surfaces require specialized primers for optimal adhesion.
Q: Why is ventilation important during the painting process?
A: Ventilation disperses fumes, speeds up drying times, and reduces exposure to toxins.
Q: What is the role of painter’s tape in my project?
A: Painter’s tape protects edges and fixtures, ensuring clean, sharp lines.
Q: How do I estimate how much paint I need?
A: Test a small area to assess coverage, then calculate the total area to be painted.
Final Thoughts
Proper wall painting preparation is essential for a flawless finish and long-lasting results. By setting up your workspace, thoroughly inspecting and cleaning your walls, and choosing the right techniques, you lay the groundwork for professional success. Adhering to proper drying times and testing the paint on small areas further ensures the durability and beauty of your final result. Follow these steps to complete your project efficiently and safely.


