Table Of Contents:
- Efficient Interior Painting Methods for Stunning Results
- Foundational Preparation for Efficient Interior Painting
- Selecting the Right Tools and Materials for an Efficient Painting Method
- Mastering Efficient Paint Application Techniques
- Streamlining the Painting Process for Speed and Quality
- Achieving Stunning Results Through Detailing and Finishing Touches
- Post-Painting Cleanup and Maintenance for Lasting Beauty
- Summary Table of Tools and Materials
- Frequently Asked Questions
- Final Thoughts
Efficient Interior Painting Methods for Stunning Results
Interior painting can transform your living space when done efficiently. In addition, understanding what happens if you don t paint your house can help you appreciate the importance of regular maintenance. This guide explains how to prepare your home, select the right materials, master application techniques, streamline your process, add professional detailing, and handle cleanup. Whether updating your walls or giving a room a complete makeover, these proven methods ensure stunning, long-lasting results.
Foundational Preparation for Efficient Interior Painting
Before you begin, proper preparation is key to a flawless finish. Create a clean, organized space free of imperfections for optimal adhesion and a professional look.
Clearing and Protecting Your Space Systematically
Move furniture and cover items with drop cloths or plastic sheets. Tape off door frames, baseboards, and window sills, secure rugs and fragile decor, and remove obstacles. These steps protect surfaces from splatters and drips, reducing cleanup time.
Repairing Wall Imperfections for a Smooth Canvas
Examine walls for cracks, dents, or holes. Use joint compound and a putty knife to fill and then sand imperfections. This repair work not only improves appearance but also enhances paint adhesion, ensuring your new coat lasts longer without chipping or peeling.
Cleaning Surfaces Thoroughly for Optimal Adhesion
Wash walls with a mild detergent solution and rinse with clean water. Be sure to remove dust, grease, or old residues that can prevent proper adhesion. For areas like kitchens, using a degreaser can improve results. A clean, neutral surface lays the foundation for strong adhesion and vibrant color.
Strategic Use of Painter’s Tape for Crisp Lines
Apply painter’s tape along trim, edges, and where colors meet. Press firmly to prevent leakage and remove the tape while the paint is still slightly wet for crisp, sharp lines. This step ensures clean transitions between painted and unpainted areas.
Understanding When and How to Use Primer Effectively
Primer ensures uniform paint absorption and reduces the number of coats needed. Use a high-quality primer on dark, multi-colored or glossy surfaces, or new drywall. Apply evenly and allow full drying before painting to enhance adhesion and overall durability.
Selecting the Right Tools and Materials for an Efficient Painting Method

Choosing quality tools and materials makes a significant difference in the ease and finish of your project.
Choosing Quality Brushes for Precision Work
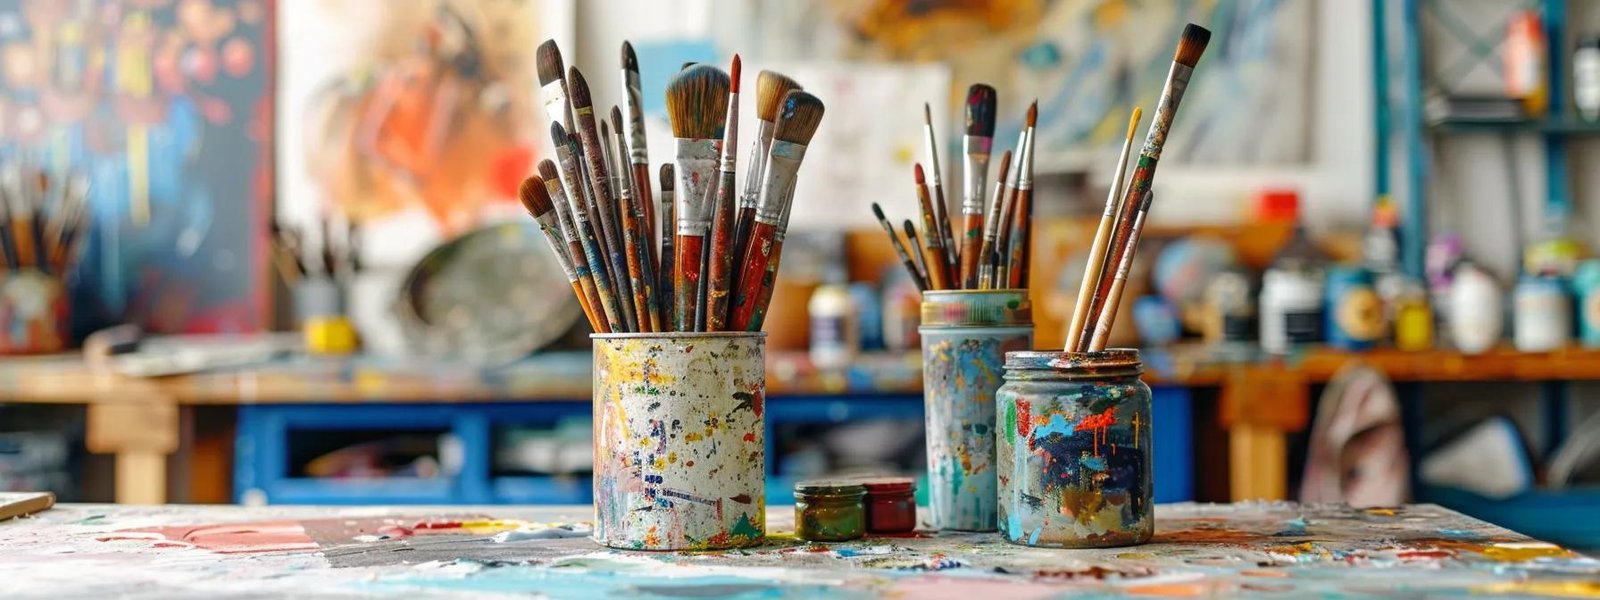
For detailed work and cutting in around edges, invest in high-quality, synthetic bristle brushes. These brushes maintain their shape, minimize streaks and drag marks, and provide a professional finish—especially when working on cabinetry or trim.
Picking Appropriate Rollers and Covers for Surface Types
Rollers allow efficient coverage of large areas. Choose a short-nap roller for smooth surfaces or a longer nap for textured walls. High-quality rollers reduce lint and marks, saving time and paint while delivering a clean finish. Roller covers with anti-shedding technology further simplify cleanup.
Opting for High-Quality Paint for Better Coverage and Durability
Premium paint offers superior pigment concentration and binders for a smooth, lasting finish that resists fading and chipping. Whether using latex or oil-based paint, look for products with high coverage and low VOCs to improve indoor air quality and extend the paint’s life.
Utilizing Essential Accessories Like Trays, Liners, and Extension Poles
Small accessories such as paint trays, liners, and extension poles streamline the process. Tray liners cut cleanup time, and extension poles help reach high ceilings safely, reducing fatigue during long sessions.
Matching Paint Finishes to Room Function and Desired Look
Different finishes serve distinct purposes. Satin or semi-gloss is ideal for high-traffic areas due to durability and easy cleaning. Matte offers a sophisticated look for walls but may need extra maintenance. Consider the room’s purpose and lighting when choosing a finish to ensure both visual appeal and functionality.
Mastering Efficient Paint Application Techniques
Efficient application techniques are crucial to achieving a lasting, professional look.
Proper Paint Mixing for Consistent Color and Texture
Thoroughly stir paint to evenly distribute pigments and additives. Use a mechanical mixer for larger quantities to prevent streaks or variations, ensuring a consistent shade across expansive surfaces.
Effective Cutting-in Methods for Sharp Edges
Cutting in along trim and corners requires a quality angled brush and steady hand. Overlap slightly onto taped areas to prevent bleeding. With practice, this technique minimizes touch-ups and improves overall visual quality.
Employing Correct Rolling Techniques Like the “W” or “M” Method
Load your roller adequately and apply paint in a zigzag “W” or “M” pattern. Overlap your strokes to reduce roller marks and ensure even coverage, which speeds up the process while enhancing the uniformity of the finish.
Maintaining a Wet Edge to Prevent Lap Marks
Overlap each new stroke with the previous wet one to avoid lap marks and ensure a smooth transition. Work steadily enough to blend edges continuously, reducing the need for later touch-ups.
Applying Thin, Even Coats for a Superior Finish
Multiple thin coats dry faster and adhere better than one thick layer. Allow sufficient drying time between coats to enhance color depth and durability while preventing sagging, drips, and inconsistencies.
Streamlining the Painting Process for Speed and Quality

An organized workflow saves time and improves results.
Establishing an Order of Operations for Painting a Room
Plan your sequence: start with the ceiling, then walls, and finally trim and doors. This order minimizes overlap and reduces physical strain, leading to a more efficient, error-free process.
Painting From Top to Bottom to Manage Drips
Begin at the top and work downward so gravity helps apply paint evenly, preventing drips on lower surfaces. This top-to-bottom approach also allows for quick corrections of any mistakes.
Allowing Adequate Drying Time Between Coats
Follow the manufacturer’s drying recommendations to avoid smudging or peeling. Proper intervals between coats contribute to a uniform finish and minimize imperfections.
Techniques for Painting Trim and Ceilings Efficiently
For ceilings, use rollers with extension poles to avoid awkward angles. For trim, a steady hand with an angled brush and painter’s tape ensures precision and minimal overlap. Patience and careful execution are key.
Working in Sections for Consistent Results
Divide the room into sections to maintain focus and consistency. Address one area at a time to monitor progress and correct issues promptly, ensuring a uniform result overall.
Achieving Stunning Results Through Detailing and Finishing Touches
The final details differentiate a professional job from an amateur effort.
Correctly Removing Painter’s Tape for Clean Lines
Remove painter’s tape at the ideal moment—when the paint is firm yet slightly tacky—to reveal sharp, clean edges. This careful removal ensures precision and a polished look.
Performing Touch-Ups for a Flawless Appearance
Use a small brush to fix any thin or uneven sections found under good lighting. These touch-ups ensure consistency and maintain the integrity of your finish.
Ensuring Proper Lighting to Spot Imperfections
Bright, direct lighting is essential to catch and fix minor flaws before the paint fully cures. This step prevents the need for later rework and helps maintain a high-quality finish.
Feathering Paint Edges on Large Surfaces
Gently blend the edges of painted areas with a dry brush to create smooth transitions between sections. This technique softens harsh lines and contributes to a uniform appearance.
Sanding Between Coats on Trim for Extra Smoothness
Lightly sand trim between coats to remove minor imperfections. This step promotes better adhesion of subsequent layers and achieves an ultra-smooth finish.
Post-Painting Cleanup and Maintenance for Lasting Beauty

Proper cleanup and tool care extend the life of your work and equipment.
Efficient Cleaning of Brushes and Rollers
Clean brushes and rollers promptly after painting using warm soapy water (for latex) or the appropriate solvent (for oil-based paints). This prevents dried paint from ruining the tools and readies them for future projects.
Proper Disposal or Storage of Leftover Paint
Seal and label leftover paint for future touch-ups, or dispose of it following local environmental regulations. Organized storage reduces waste and ensures you have quality paint available for later projects.
Allowing Full Cure Time for Maximum Durability
Even after drying, paint cures over time. Follow the manufacturer’s recommended cure time before cleaning or redecorating to ensure the best durability and finish.
Gentle Cleaning Methods for Freshly Painted Walls
Avoid harsh chemicals when cleaning; instead use mild soap solutions and soft cloths to preserve the paint’s vibrancy and integrity.
Storing Tools Correctly for Future Efficient Interior Painting Methods
After cleaning, dry and store your brushes and rollers in protective covers or sealed bags to prevent dust and prolong their lifespan, ensuring they are ready for your next project.
Summary Table of Tools and Materials
| Tool/Material | Key Feature | Benefit | Application Example |
|---|---|---|---|
| Quality Brushes | Synthetic bristles | Precision cutting-in and detail work | Painting trim and cabinetry |
| Appropriate Rollers | Various nap lengths | Uniform coverage on different surface types | Covering large walls smoothly |
| High-Quality Paint | Superior pigment concentration | Better coverage, durability, and vibrancy | Enhancing room color with fewer coats |
| Painter’s Tape | Strong adhesive with clean removal | Ensures crisp, defined edges | Taping around windows and baseboards |
| Extension Poles | Lightweight design | Reaches high areas without strain | Painting ceilings efficiently |
Frequently Asked Questions
Q: How do I ensure paint adhesion on my walls?
A: Begin with thorough cleaning, repair of surface imperfections, and proper priming.
Q: What type of brush should I use for corner work?
A: Use an angled synthetic bristle brush for precise cutting-in along edges.
Q: Can I reuse leftover paint from a previous project?
A: Yes, store it in sealed, labeled containers for future touch-ups.
Q: How important is drying time between coats?
A: It is crucial; adequate drying time prevents lap marks and ensures a durable finish.
Q: Should I sand between each coat of paint?
A: Yes, light sanding—especially on trim—helps achieve an extra smooth finish.
Final Thoughts
Efficiency in interior painting starts with good preparation and continues through each carefully planned step. By investing in quality tools, using smart application techniques, and ensuring proper maintenance, you achieve a finish that is both beautiful and long-lasting. With these methods, you are well-prepared to transform your space while safeguarding your investment in your home.


